
Tip: How To Read A Recipe
When cooking with a recipe, do not read it as you go along. Read the entire recipe first. This will allow you to make sure you have all the necessary ingredients taken out and ready to use. It will also get you familiar with the steps of the recipe so you know what to expect and don’t accidentally throw out something you’ll need later, like vegetable scraps, bacon grease or pasta water.
Recipe: Oatmeal Banana Pancakes
Nutrition Facts (will vary depending on ingredients used):
- 345 calories
- 17 grams protein
- 11 grams fats
- 47 grams carbohydrates
Starting out with the most important meal of the day, we have oatmeal banana pancakes for breakfast. This recipe takes away all the hassle of making pancakes and is super quick and easy to make since it only takes three ingredients.
Ingredients
- 2 eggs
- 1 banana
- 1/3 cup rolled oats
- Non-stick cooking spray
In a small bowl, beat your eggs with a fork until smooth. Make sure to look for the yolks to be broken up and fully incorporated with the whites. Once homogeneous, add your banana to the bowl with your eggs and mash the banana into a paste. You want there to be no large chunks of banana left. After your banana is mashed and incorporated with the eggs, stir in 1/2 cup of rolled oats.
Optional: If you have a blender or a food processor, you can blend the oats first into a powder to make the batter smoother.
Next, get out a pan and spray with non-stick cooking spray, or add in a small slice of butter if you don’t have cooking spray, and place that pan over medium heat. After about 30-40 seconds (or when the butter is completely melted), start pouring the batter into the heated pan. After a minute and a half, use a spatula or some other flat cooking utensil to check if the pancake is fully cooked on the bottom. If not, give it another 20-30 seconds and check again. Once the bottom is fully cooked, flip and repeat the process on the other side.
Serve with: peanut butter, greek yogurt, more banana or fresh fruit.
Tip: Rotisserie Chicken
You might not always have the time to cook and clean up a meal, or you might just be tired, and that’s okay. This is where the rotisserie chicken comes in. Having an entire precooked chicken in the fridge is a lifesaver. It’s a snack, lunch and dinner, and it can be used to bulk up salads, boring ramen packets and so much more. If something like midterms or finals are coming up and you know you will be busy, buy a rotisserie chicken and pick at it throughout the week. But save the carcass … you’ll need that later.
Recipe: Chicken Stir Fry
Nutrition Facts (will vary depending on ingredients used):
- 421 calories
- 37 grams protein
- 11 grams fats
- 46 grams carbohydrates
For lunch, we have a cooking staple that every student should master: chicken stir fry. Stir fry is amazing because of how versatile it is. Don’t have all the ingredients listed here? No problem. Have a bunch of ingredients just sitting in your fridge that you don’t know how to use? I got you. At the end of the day, all you need to make stir fry is a stove, a pan, leftover veggies and soy sauce. This recipe is just to get you thinking, so don’t follow it to a tee. Use however much red onion, honey or chicken as you’d like. These measurements are provided as guidelines if you get stuck. Final note before we get started, save any vegetable scraps! You’ll see why. With that said, let’s get cooking.
Ingredients
- 1/2 red bell pepper
- 100 grams broccoli
- 75 grams carrots
- 1/2 red onion
- 4 cloves garlic
- 1 boneless skinless chicken thigh
- Salt and black pepper
- Cooking spray
- 1/2 cup water
- Red pepper flakes
- 1 cup baby spinach
- Low sodium soy sauce
- Rice wine vinegar
- 1 tablespoon honey
First, rinse your red bell pepper, broccoli and carrots and dry them off. After you’ve dried your veggies, chop them into somewhat small pieces. Next, peel and chop your onion and mince your garlic. Tip: If you have a blender or a food processor, use it to mince a whole bunch of garlic so it’s pre-minced for future use. Set your veggies aside.
Rinse your chicken thigh(s) in the sink and pat dry with a paper towel. Season the chicken with salt and pepper and cut it into even chunks. Note: Bigger chicken chunks will cook slower and smaller chunks will cook faster, so try to keep your chicken chunks relatively the same size so they all take the same amount of cooking time.
In a large pan sprayed with non-stick cooking spray, add your chicken and cook on medium-high for four to six minutes, or until it reaches an internal temperature of 170 degrees Fahrenheit, flipping the chicken pieces over halfway through. Note: If not all the chicken is fully cooked, that is fine because it will continue to cook when you add it back into the vegetable mixture later. Take your chicken out of the pan and set aside. Reduce heat to medium and spray more non-stick cooking spray to the pan along with a splash of water, adding in your carrots, onions and spinach. Put a lid on your pan and let the carrots cook until they are soft or reach your desired level of hardness. Mix occasionally and add more water. Cook longer as needed.
Once the carrots are done, take off the lid and add in your aromatics, the garlic and red pepper flakes. Let that simmer for about two to three minutes, or until fragrant, stirring occasionally. Add in the rest of your vegetables and let them cook for five to seven minutes, stirring occasionally. Season to taste with salt, black pepper and red pepper flakes. Add in your chicken, low-sodium soy sauce, rice wine vinegar and honey. Mix until glistening with flavor, serve and enjoy.
Serve with: Any kind of rice.
Tip: Stock
It has been a week’s worth of eating. You have a bunch of vegetable scraps from your cooking adventures and a chicken carcass in the fridge. Now it’s time to put these things to use because today we are making stock. All you have to do is add all these scraps to a large pot, fill it with water and let it simmer for at least three hours. Note: The longer you let it simmer, the more flavor your stock will have. Once you are done letting it simmer, strain your mixture, and you are now left with liquid gold. Chicken or vegetable stock is a great way to add flavor to whatever you are making.
Recipe: Cauliflower Fettuccine Chicken Alfredo
Nutrition Facts (will vary depending on ingredients used):
- 571 calories
- 59 grams protein
- 18 grams fats
- 46 grams carbohydrates
Now it’s time for not just dinner, but my favorite recipe on this list, cauliflower fettuccine chicken Alfredo. I based this off of a Joshua Wissman recipe that I will link here, so please check it out if you enjoyed this recipe. I love this recipe so much because, by using cauliflower as the base for the sauce instead of heavy cream, it cuts the calories in half while still delivering that thick, smooth and creamy texture you’d expect from Alfredo. Enough talk, let’s cook.
Ingredients
- 1 boneless skinless chicken breast
- Salt and pepper
- 244 grams cauliflower
- 1/3 cup water
- 70 grams fettuccine
- Cooking spray
- 4 cloves garlic
- 1/3 cup parmesan cheese
- 1/2 cup fat-free milk
To start, bring a large pot of water to a boil over medium heat. Next, rinse your chicken breasts and pat them dry with a paper towel. Cut the chicken in half like you are slicing a loaf of bread so it is thin and flat, then season with salt and black pepper and set aside.
Cut your cauliflower into chunks and put it into a large plastic bag. Add about 1/3 cup of water to the bag. Zip it up 90% of the way so that it is slightly open on one end and place it in the microwave for 12 to 13 minutes.
Heat a large pan over medium-high heat and spray with non-stick cooking spray. Place your chicken breasts in the pan and sear for two to three minutes per side or until an internal temperature of 165 degrees Fahrenheit. Add your fettuccine to your pot of boiling water and cook for nine minutes or until al dente. Once the cauliflower has finished, drain it and add to a blender. Note: If you don’t have a blender, use a food processor. If you don’t have a food processor, add the cauliflower to a large pot or bowl and crush it into a paste with your hands after it cools.
Add your garlic, parmesan cheese, fat-free milk, salt and pepper to the blender and blend until smooth. Season again with salt and pepper if needed. Once your pasta is done cooking, strain it and place it back into the pot. Pour your sauce into the pot with the pasta and toss until coated. Once thoroughly drenched in the sauce, serve with your chicken and enjoy.
—
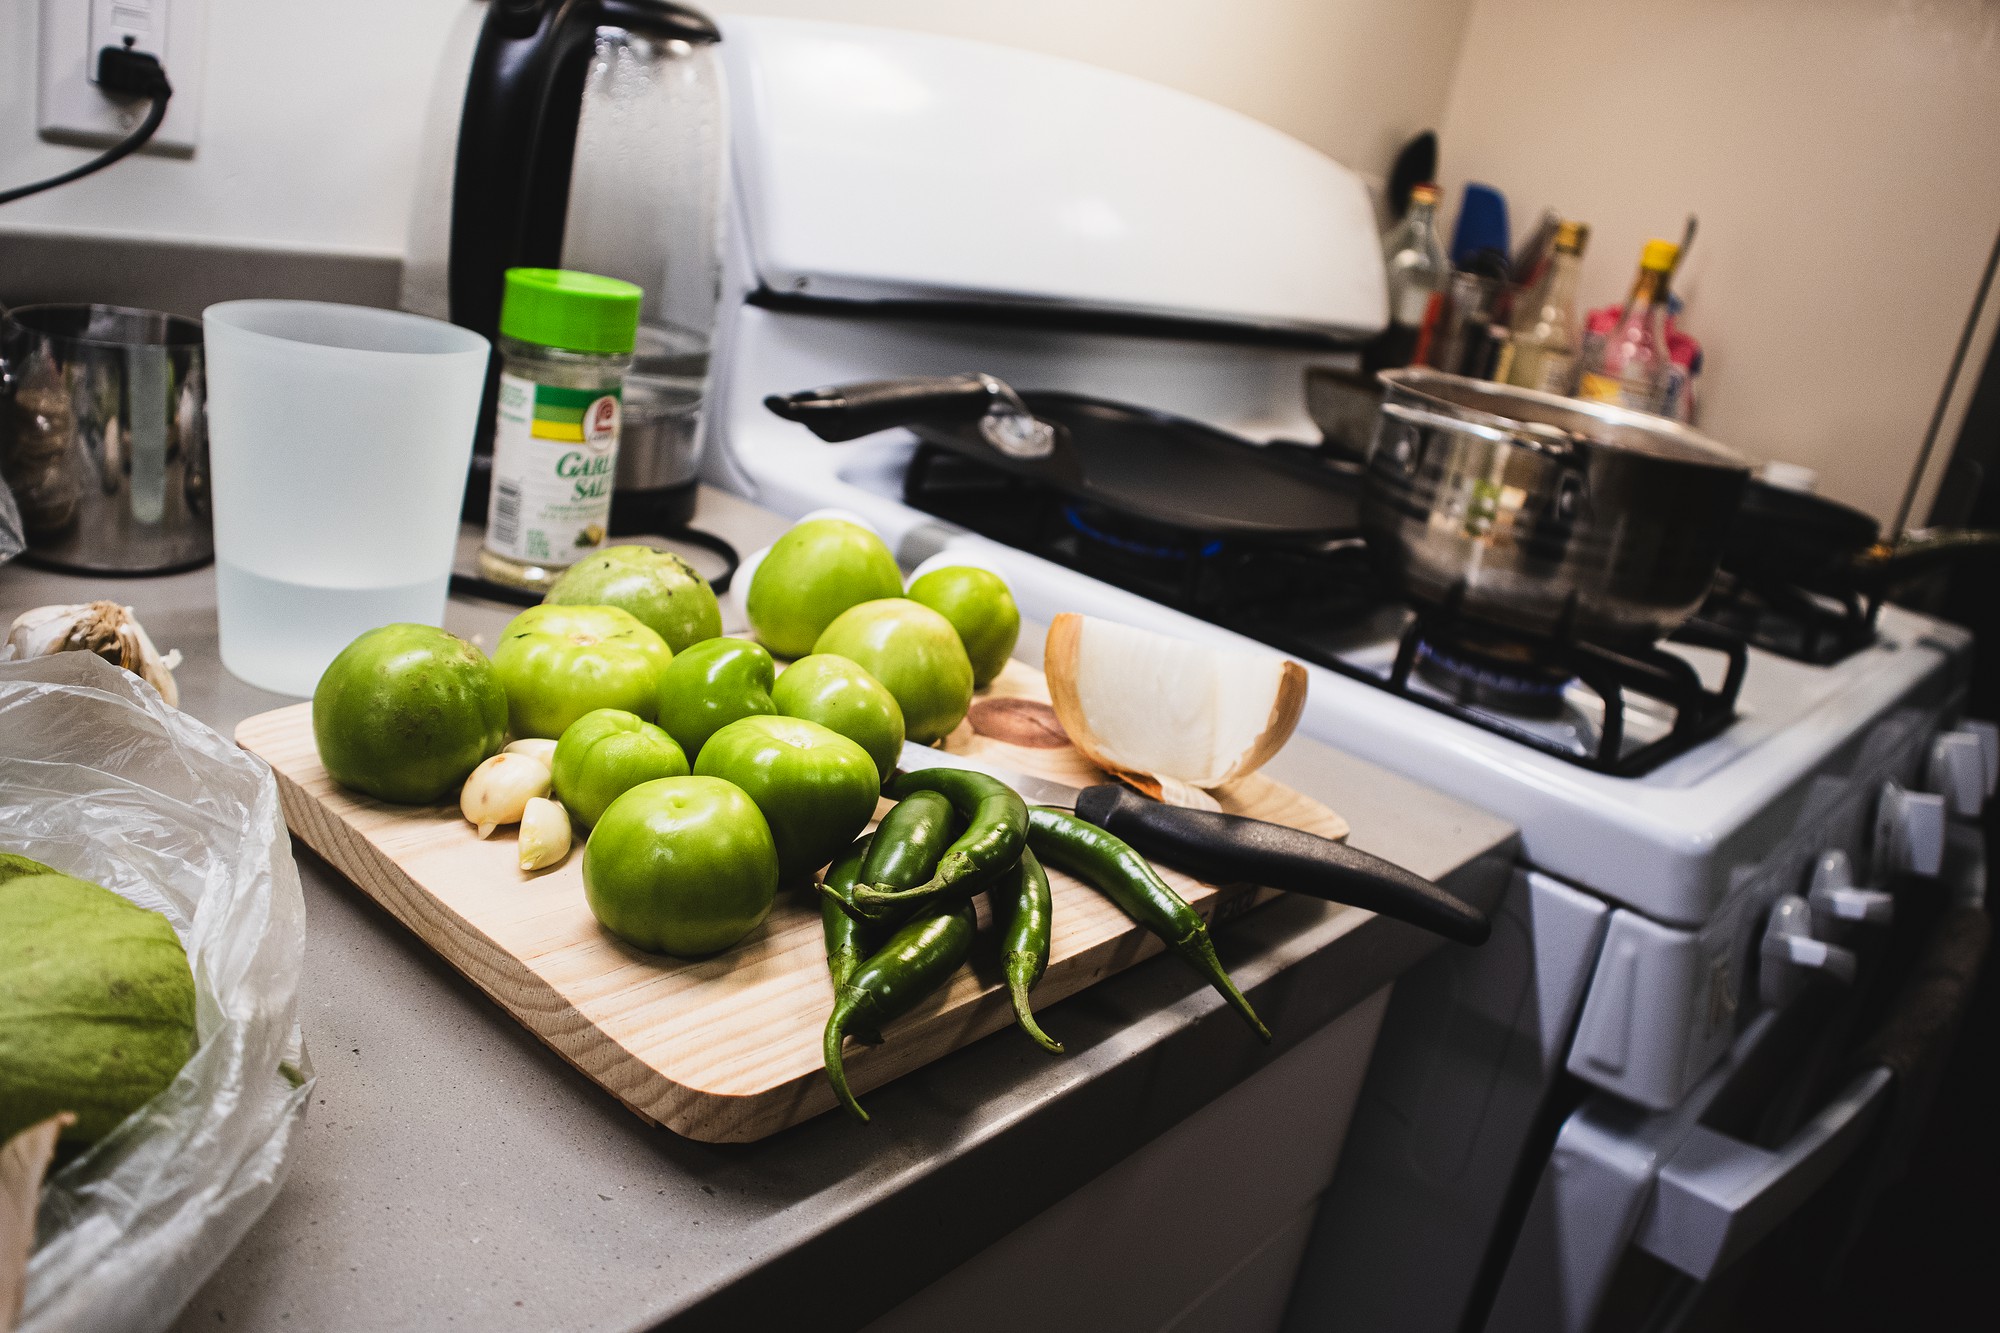
Featured Image Photographed by Juan Perez/BruinLife